Hashicorp Vault

Ways to secure Terraform
There are a few ways to manage sensitive information in Terraform files. Here are some of the most common methods:
Use the sensitive attribute
- Terraform provides a sensitive attribute that can be used to mark variables and outputs as sensitive. When a variable or output is marked as sensitive, Terraform will not print its value in the console output or in the state file.
Secret management system
- Store sensitive data in a secret management system. A secret management system is a dedicated system for storing sensitive data, such as passwords, API keys, and SSH keys. Terraform can be configured to read secrets from a secret management system, such as HashiCorp Vault or AWS Secrets Manager.
Remote Backend
- Encrypt sensitive data. The Terraform state file can be encrypted to protect sensitive data. This can be done by using a secure remote backend, such as Terraform Cloud or S3.
Environment Variables
- Use environment variables. Sensitive data can also be stored in environment variables. Terraform can read environment variables when it is run.
Here are some specific examples of how to use these methods:
To mark a variable as sensitive, you would add the sensitive attribute to the variable declaration.
For example:
To store sensitive data in a secret management system, you would first create a secret in the secret management system. Then, you would configure Terraform to read the secret from the secret management system.For example, to read a secret from HashiCorp Vault, you would use the vault_generic_secret data source.
data "vault_generic_secret" "aws_access_key_id" {
  path = "secret/aws/access_key_id"
}

variable "aws_access_key_id" {
  value = data.vault_generic_secret.aws_access_key_id.value
}
terraform encrypt
To use environment variables, you would first define the environment variables in your operating system. Then, you would configure Terraform to read the environment variables when it is run.
For example, to define an environment variable called AWS_ACCESS_KEY_ID, you would use the following command:
Then, you would configure Terraform to read the environment variable by adding the following line to your Terraform configuration file:Vault Integration
Here are the detailed steps for each of these steps:
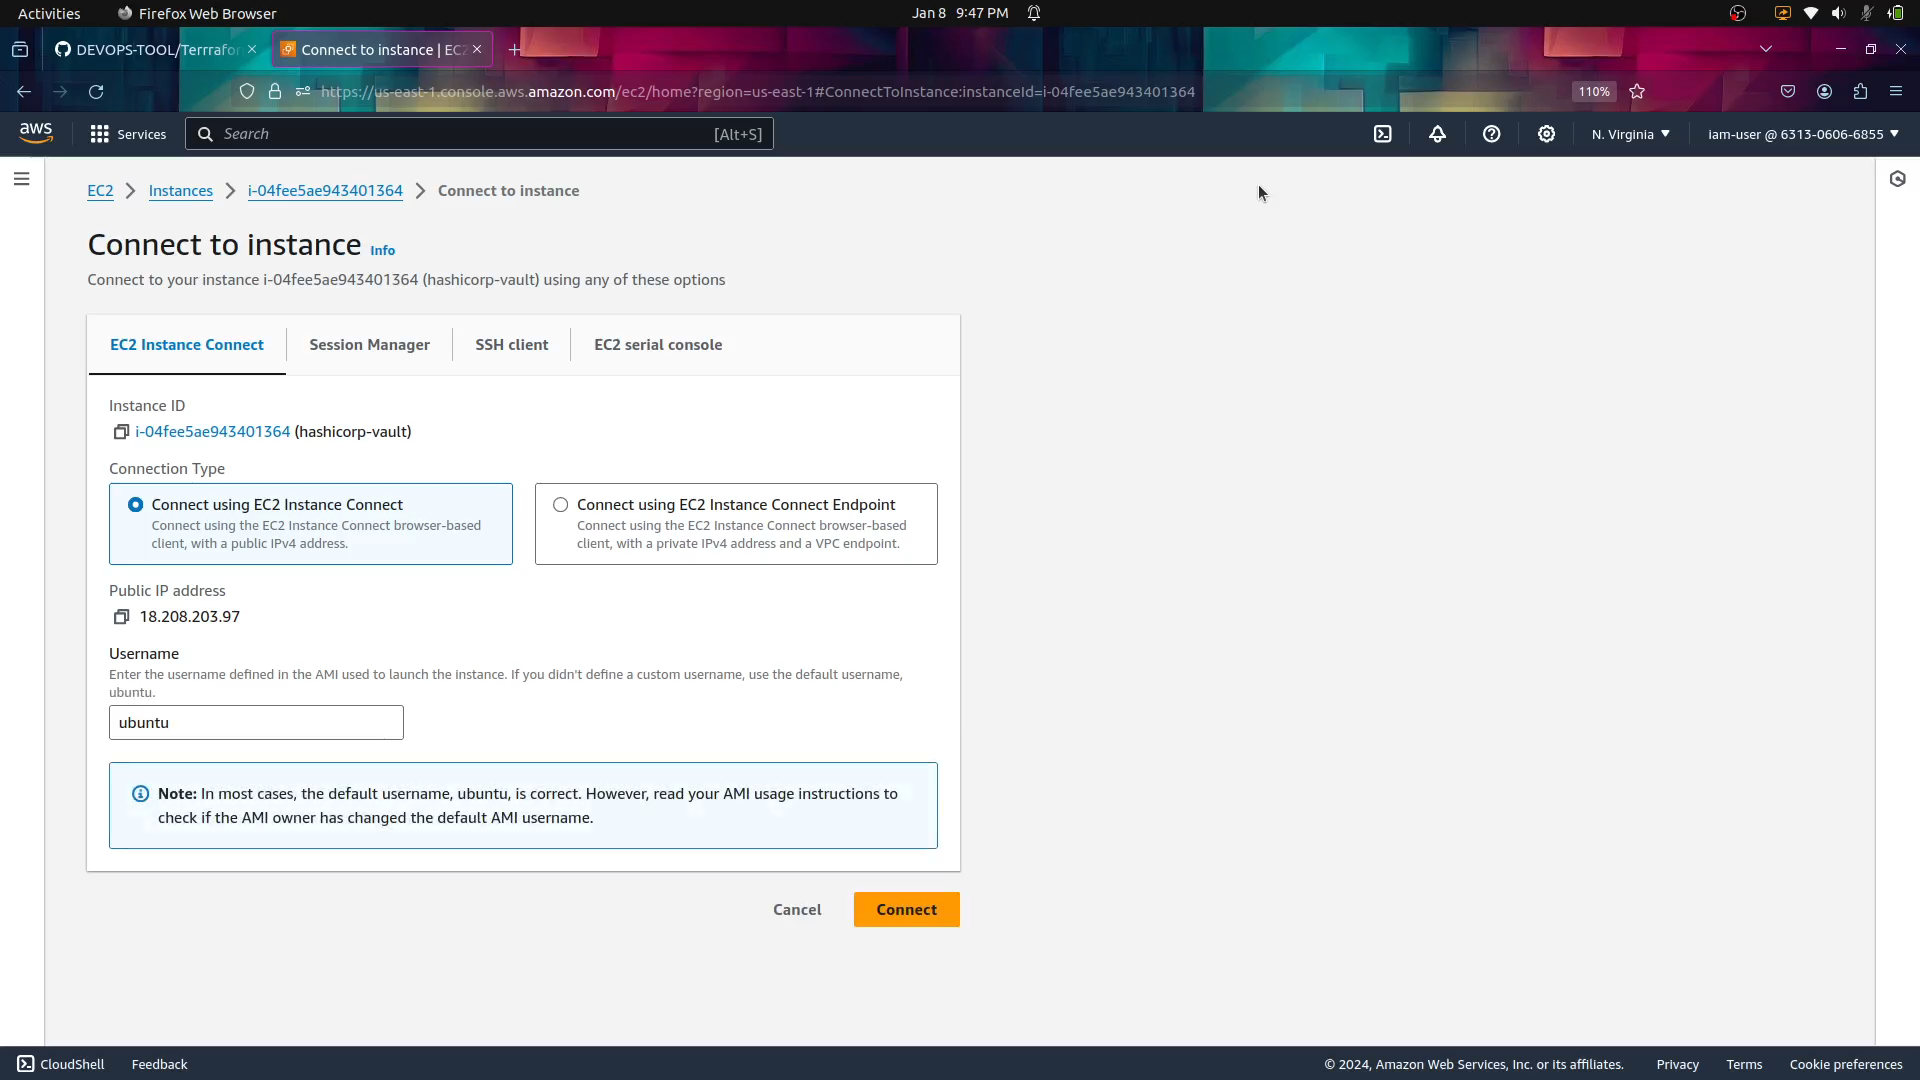
Create an AWS EC2 instance with Ubuntu
To create an AWS EC2 instance with Ubuntu, you can use the AWS Management Console or the AWS CLI. Here are the steps involved in creating an EC2 instance using the AWS Management Console:
- Go to the AWS Management Console and navigate to the EC2 service.
- Click on the Launch Instance button.
- Select the Ubuntu Server xx.xx LTS AMI.
- Select the instance type that you want to use.
- Configure the instance settings.
- Click on the Launch button.
Install Vault on the EC2 instance
To install Vault on the EC2 instance, you can use the following steps:
Install gpg

Download the signing key to a new keyring
wget -O- https://apt.releases.hashicorp.com/gpg | sudo gpg --dearmor -o /usr/share/keyrings/hashicorp-archive-keyring.gpg
Verify the key's fingerprint
Add the HashiCorp repo
echo "deb [arch=$(dpkg --print-architecture) signed-by=/usr/share/keyrings/hashicorp-archive-keyring.gpg] https://apt.releases.hashicorp.com $(lsb_release -cs) main" | sudo tee /etc/apt/sources.list.d/hashicorp.list

Finally, Install Vault

Start Vault.
To start Vault, you can use the following command:
use the export id which is given in the dev server
Configure Terraform to read the secret from Vault.


Detailed steps to enable and configure AppRole authentication in HashiCorp Vault:
- Enable AppRole Authentication:
To enable the AppRole authentication method in Vault, you need to use the Vault CLI or the Vault HTTP API.
Using Vault CLI:
Run the following command to enable the AppRole authentication method:
This command tells Vault to enable the AppRole authentication method.
- Create an AppRole:
We need to create policy first,
vault policy write terraform - <<EOF
path "*" {
  capabilities = ["list", "read"]
}

path "secrets/data/*" {
  capabilities = ["create", "read", "update", "delete", "list"]
}

path "kv/data/*" {
  capabilities = ["create", "read", "update", "delete", "list"]
}


path "secret/data/*" {
  capabilities = ["create", "read", "update", "delete", "list"]
}

path "auth/token/create" {
capabilities = ["create", "read", "update", "list"]
}
EOF
Now you'll need to create an AppRole with appropriate policies and configure its authentication settings. Here are the steps to create an AppRole:
a. Create the AppRole:
vault write auth/approle/role/terraform \
    secret_id_ttl=10m \
    token_num_uses=10 \
    token_ttl=20m \
    token_max_ttl=30m \
    secret_id_num_uses=40 \
    token_policies=terraform
- Generate Role ID and Secret ID:
After creating the AppRole, you need to generate a Role ID and Secret ID pair. The Role ID is a static identifier, while the Secret ID is a dynamic credential.
a. Generate Role ID:
You can retrieve the Role ID using the Vault CLI:
Save the Role ID for use in your Terraform configuration.
b. Generate Secret ID:
To generate a Secret ID, you can use the following command:
bash
vault write -f auth/approle/role/terraform/secret-id
 This command generates a Secret ID and provides it in the response. Save the Secret ID securely, as it will be used for Terraform authentication.