✅ STEP 1 — Login & Basic Setup
Open in browser:
Login:
👉 You’ll be asked to change password Do it and continue.
✅ STEP 2 — Create Your First Project (Manual)


- Click Create Project
- Choose Manually
-
Fill:
-
Project display name:
my-first-project - Project key:
my-first-project - Click Set Up
✅ STEP 3 — Generate Token (VERY IMPORTANT)
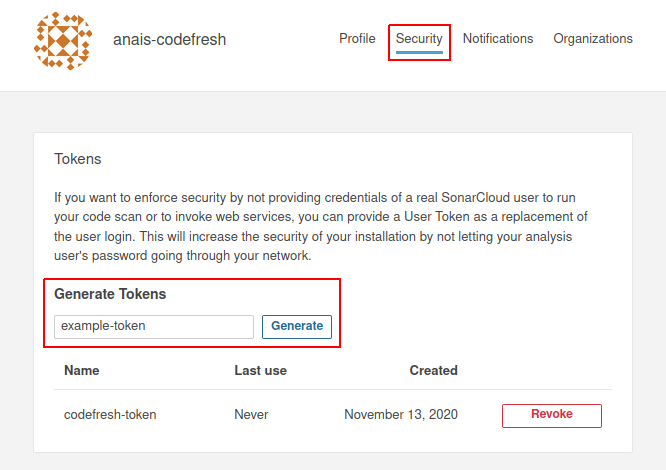


- Choose Generate Token
- Name it:
local-scan - Scope: Project
- Copy the token and save it securely
⚠️ You will NOT see this token again.
✅ STEP 4 — Choose Project Type (Example: Node.js)
Select your tech stack:
- Node.js / JavaScript
- Java
- Go
- Python
I’ll show Node.js first (most common). Tell me if you want another language.
✅ STEP 5 — Run First Scan (Local)
1️⃣ Install Sonar Scanner (Docker way – easiest)
From your project root:
docker run --rm \
  -e SONAR_HOST_URL="http://<SERVER_IP>:9000" \
  -e SONAR_LOGIN="YOUR_TOKEN" \
  -v "$(pwd):/usr/src" \
  sonarsource/sonar-scanner-cli
Replace:
<SERVER_IP>YOUR_TOKEN
2️⃣ (Optional) Add sonar-project.properties
sonar.projectKey=my-first-project
sonar.projectName=My First Project
sonar.sources=.
sonar.exclusions=node_modules/**,dist/**
Then rerun scanner.
✅ STEP 6 — View Scan Results
Go back to UI → open your project.
You’ll see:
- Bugs
- Vulnerabilities
- Code smells
- Security hotspots
- Quality Gate status
🎉 Your first analysis is done
✅ STEP 7 — Quality Gate (Understand This)
Default rule:
- ❌ FAIL if new bugs or vulnerabilities
- ❌ FAIL if coverage too low
For now → just observe.
Later we’ll enforce this in CI/CD.